Do you dream of transforming your garden into an oasis of tranquillity without spending a fortune? You’re in luck! We’ve curated a list of 7 creative and budget-friendly projects to elevate your outdoor space. Whether you’re a seasoned DIY enthusiast or just getting started, these cheap backyard ideas are designed to be accessible, enjoyable, and on a budget.
Each project comes with detailed material lists, step-by-step guides, and even inspiring YouTube videos to guide you through the process. From adding cozy lighting to crafting unique planters, we’ve got everything you need to transform your backyard into your own personal retreat.
So, why wait? Let’s dive into these exciting projects and turn your backyard dreams into reality!
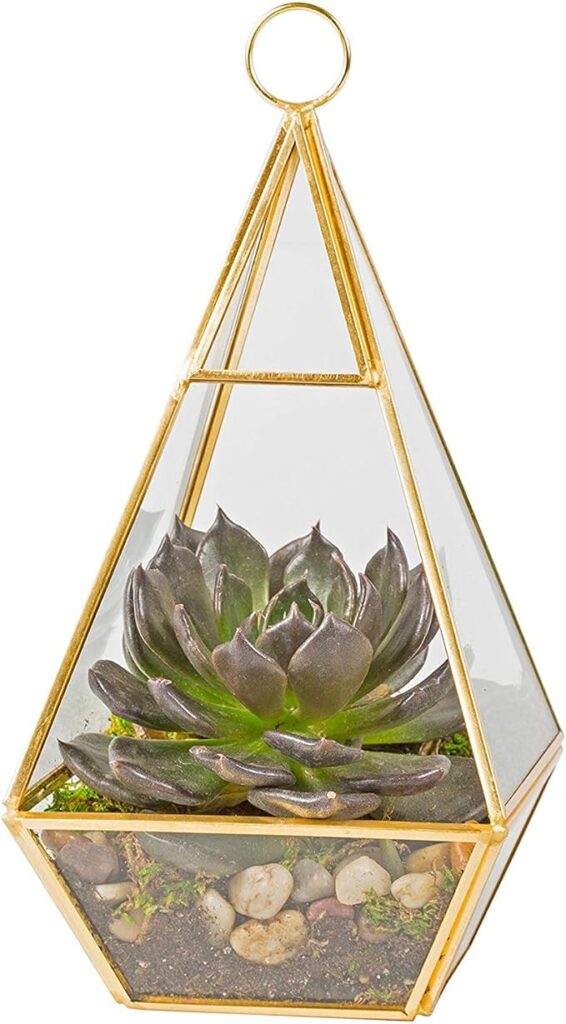
1. DIY Geometric Planters

Budget-friendly and colorful: Corrugated plastic sheets are surprisingly inexpensive and come in various colors.
Materials List
- Corrugated plastic sheets in your desired colors
- Box cutter or utility knife
- Ruler
- Permanent marker
- Staple gun with staples (or heavy-duty zip ties)
- Potting soil
- Plants
Step-by-Step Guide
- Sketch your desired geometric planter shape on a sheet of paper (triangle, hexagon, etc.).
- Transfer the design onto the corrugated plastic sheet and cut out the pieces using a box cutter or utility knife.
- Assemble the pieces using a staple gun and staples (or zip ties) to create a 3D planter.
- Drill drainage holes in the bottom of the planter.
- Fill with potting soil and plant your favorite flowers, herbs, or succulents.
Get Inspired
- Book: “The Upcycle Garden: Creative Projects for Transforming Everyday Items into Functional and Beautiful Garden Decor” by Peter Marlow.
- YouTube video: Search for “DIY Geometric Planter Tutorial” by Jenny W. Chan for a visual guide.
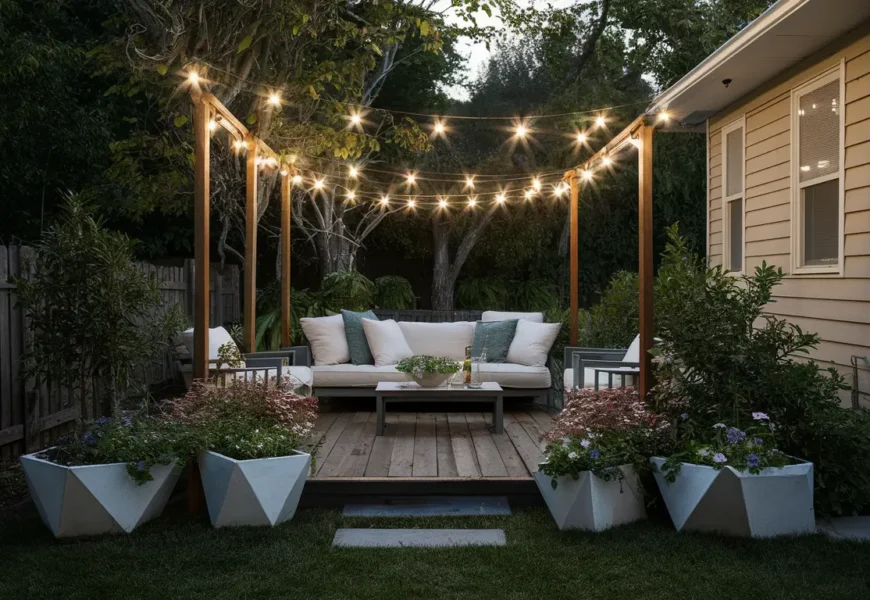
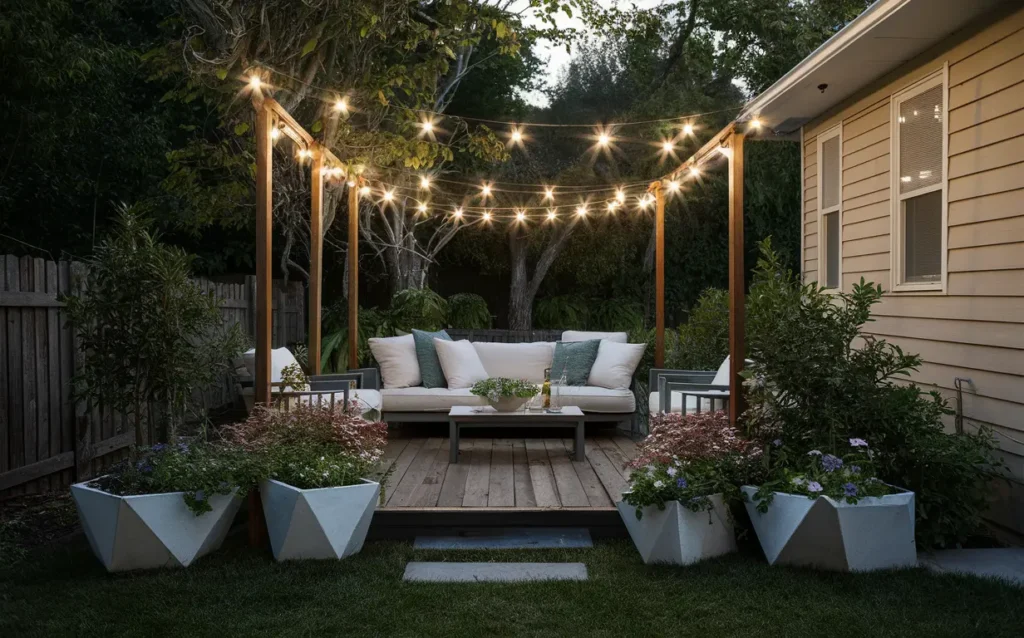
2. String Light Ambiance
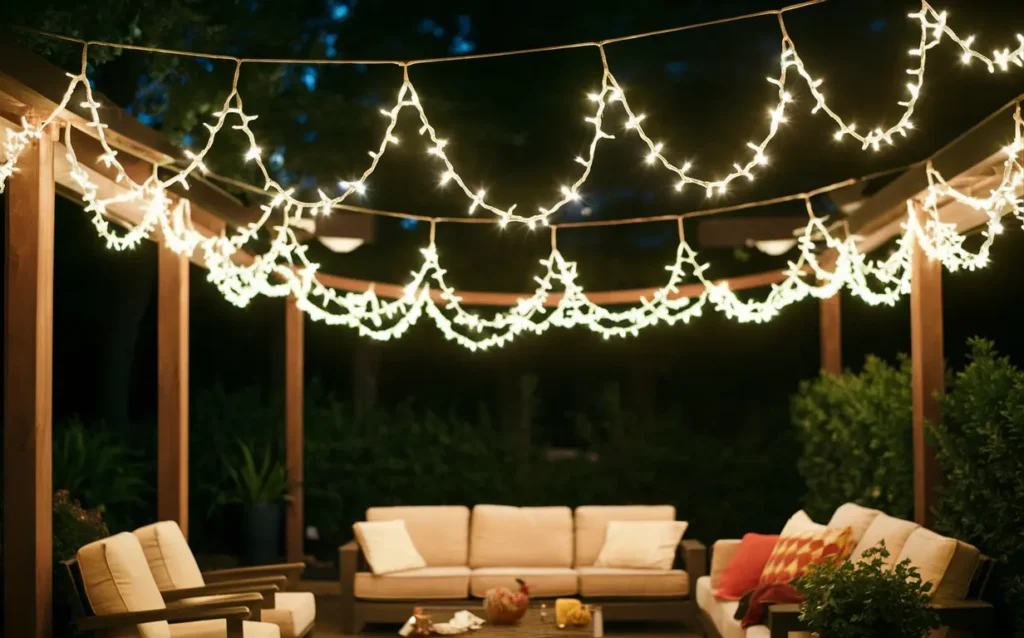
Warm and inviting atmosphere: String lights cast a magical glow, perfect for cozy evenings outdoors.
Simple and versatile: Hang them from trees, fences, pergolas, or even your house eaves.
Materials List
- String lights (length depending on your desired coverage)
- Hooks or cup hooks for hanging (depending on your hanging surface)
- Extension cord (optional, if your desired location lacks an outlet)
Step-by-Step Guide
- Decide on the hanging pattern for your string lights.
- Secure hooks or cup hooks to your chosen hanging points (trees, fences, pergolas, etc.).
- Carefully drape the string lights over the hooks, ensuring even distribution.
- Plug the string lights into an outlet or extension cord (if needed).
Get Inspired
- YouTube Videos:
- Search for “String Light Patio Ideas” on YouTube for creative hanging patterns and design inspiration.
- Check out “DIY String Light Canopy” by Better Homes and Gardens for a tutorial on creating a beautiful overhead canopy using string lights.
- Pinterest Boards:
- Explore our Pinterest boards like “Backyard String Lights” for a visual collection of string light installation ideas.
- Discover creative uses for string lights beyond patios with boards like “String Light Decor”.
By incorporating these tips and inspirations, you can transform your backyard into a magical night-time oasis using string lights!
3. Pea Gravel Patio
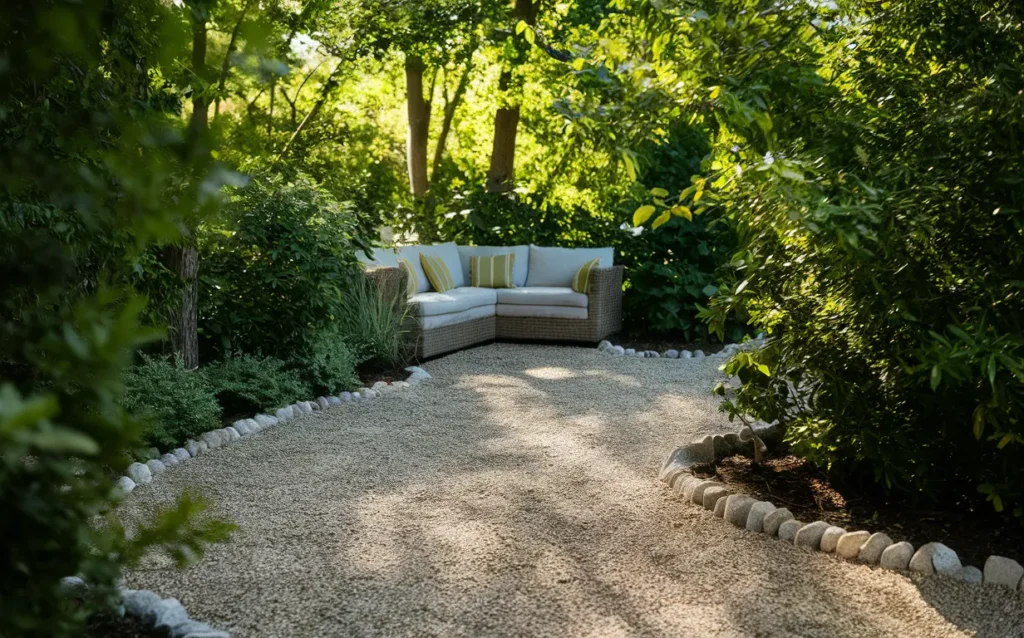
Cost-effective and easy DIY: Pea gravel offers a beautiful and budget-friendly alternative to traditional patios.
Materials List
- Landscape fabric
- Pea gravel (enough to cover your desired patio area at a depth of 2-3 inches)
- Edging stones or pavers (optional, for a clean border)
- Shovel
- Rake
- Utility knife
Step-by-Step Guide
- Measure your desired patio area and mark the perimeter.
- Lay down landscape fabric, securing it with staples or landscape pins to prevent weeds.
- Spread a layer of pea gravel evenly over the fabric, ensuring a depth of 2-3 inches.
- Use a rake to smooth out the gravel surface.
- Optional: If using edging stones or pavers, create a border around the perimeter of your patio by digging a shallow trench, placing the stones, and backfilling the trench with gravel.
4. Repurposed Materials Magic
Eco-friendly and unique: Breathe new life into old items like vintage chandeliers.
Creative Ideas: Hang them from trees, use them as a fire pit centerpiece, or get even more creative!
Materials List
- Repurposed item (vintage chandelier, old wagon wheel, etc.)
- Hanging materials (chains, rope, etc. depending on your chosen item and hanging location)
- Spray paint (optional, if you want to update the look of your repurposed item)
Step-by-Step Guide
- Clean and prepare your chosen repurposed item.
- Apply spray paint if desired.
- Securely attach hanging materials to your item.
- Hang your repurposed creation in your desired location (tree branch, pergola, etc.).
Get Inspired
Transform Your Backyard: 7 Easy & Budget-Friendly Projects
Top Small Garden Layouts for 2024: Tiny Space, Big Dreams!

Essential guide to choosing the perfect trellis for your garden
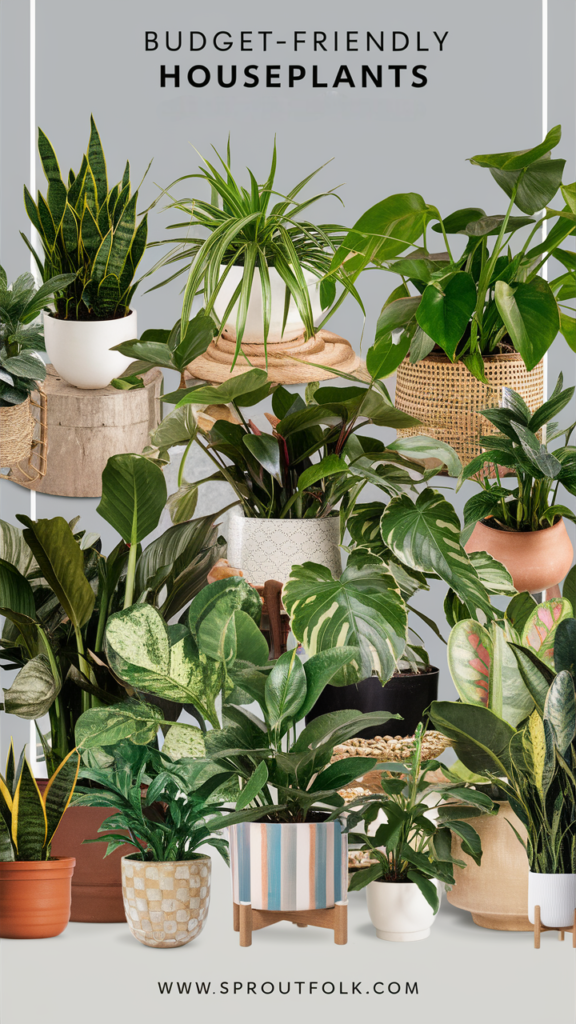
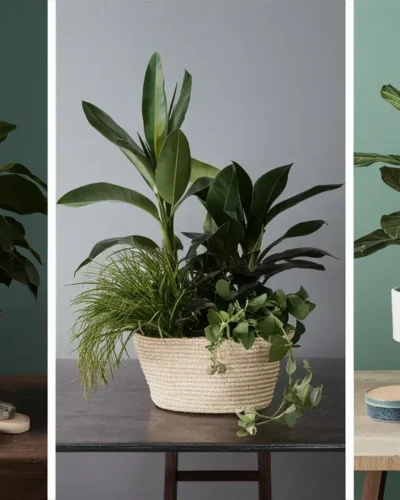
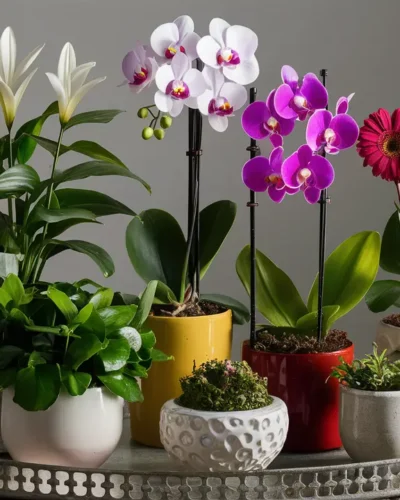
How to Make the Most of Your Budget-Friendly Houseplants
Gorgeous Gardens on a Shoestring: Repurpose & Upcycle for Free Garden Flair!
DIY Mulch and Compost – Feed Your Soil for Less!
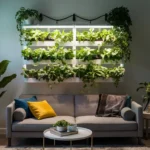
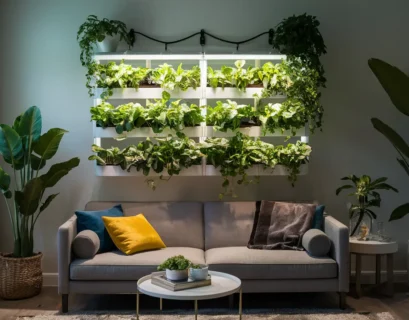
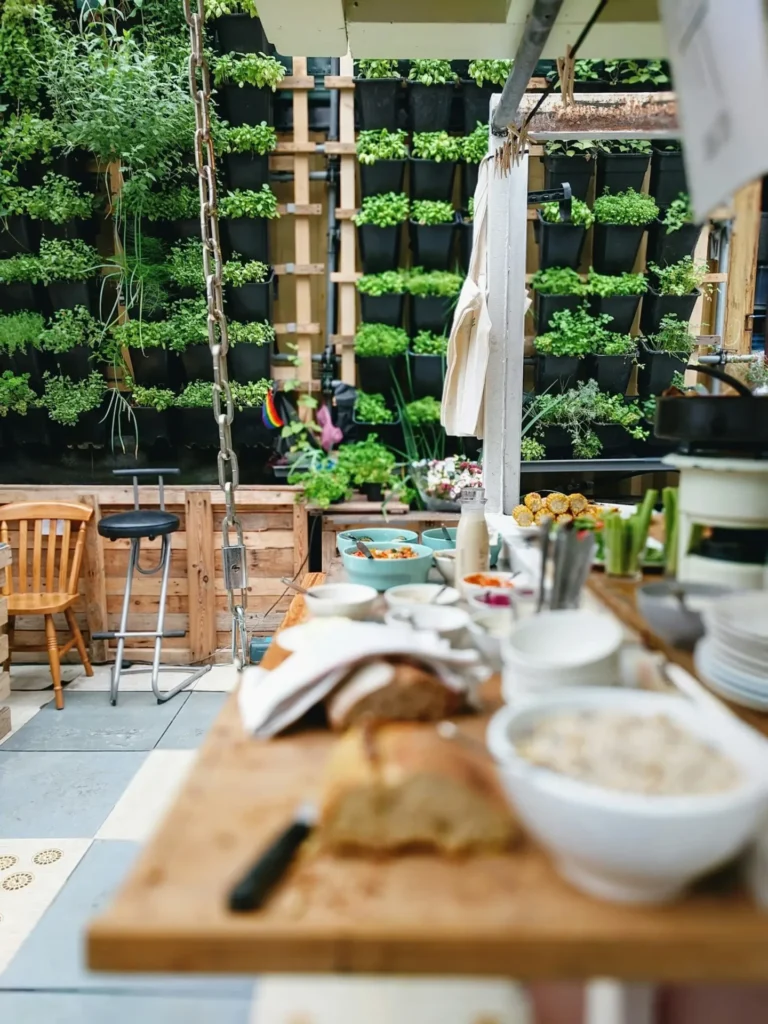
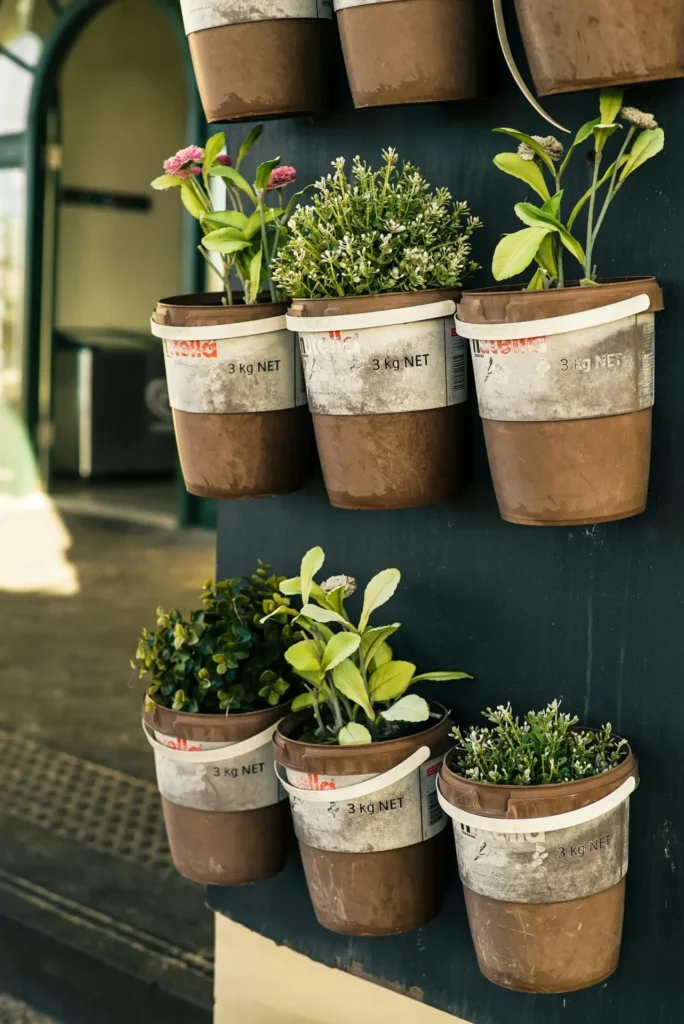
5. Vertical Gardening on a Budget
Maximize space: Grow plants vertically using hanging planters or boxes made from recycled wood.
Perfect for succulents and herbs: These low-maintenance plants thrive in vertical gardens.
Materials List
- Wood planks (enough to construct your desired planter size)
- Saw
- Drill
- Screws
- Liner (optional, if using fabric pockets for planting)
- Fabric pockets for planting (optional)
- Potting soil
- Plants (succulents, herbs, etc.)
Step-by-Step Guide
- Cut your wood planks to your desired planter box size.
- Assemble the wood planks using screws to create a box shape.
- (Optional) Line the inside of the planter box with fabric if using fabric pockets for planting.
- Attach hanging hooks or brackets to the back of the planter box.
- If using fabric pockets, slide them into the planter box and fill them with potting soil. Alternatively, fill the entire planter box with potting soil.
- Plant your chosen succulents or herbs.
Get Inspired
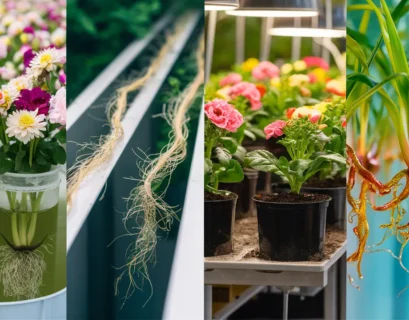
Unveiling the Mechanics of Vertical Gardening
Embracing Vertical and Horizontal Gardening: A Complete Guide for 2024
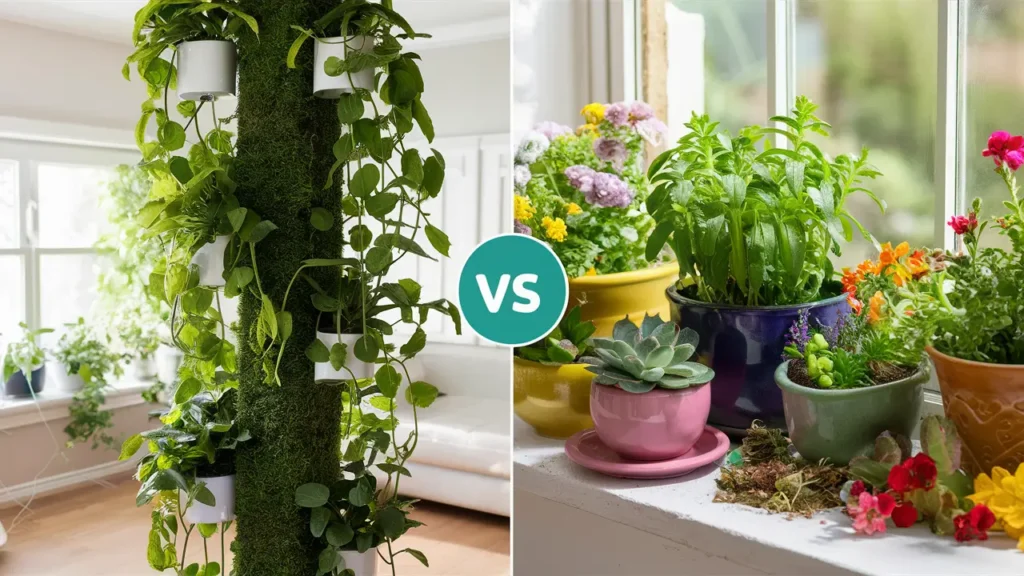
Vertical Gardening vs Horizontal Gardening: Which is Right for You?
Innovative Solutions for Vertical Gardening in 2024
Ultimate Guide to Vertical Herb Gardening: Fresh Flavour at Your Fingertips
6. DIY Fire Pit for Gatherings
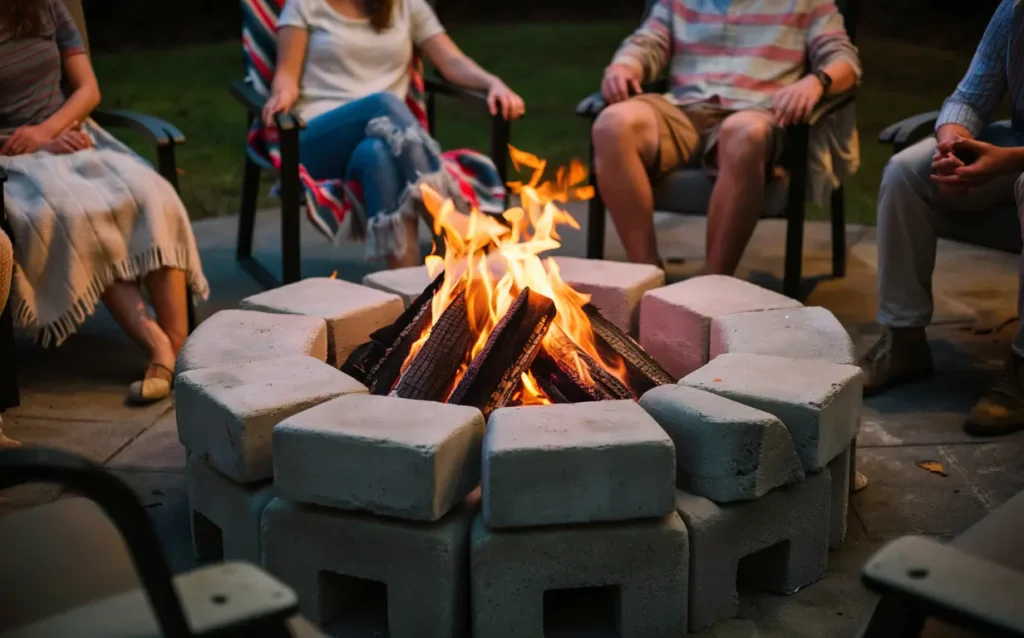
Cozy focal point: A fire pit creates a warm and inviting space for friends and family.
Budget-friendly materials: Use concrete blocks, stones, or even a pre-made fire pit ring.
Safety first: Local regulations might apply, so check before building a fire pit. Always clear a flammable zone around the fire pit and have a fire extinguisher nearby. Never leave a fire unattended.
Materials List:
- Fire pit ring (or enough concrete blocks or stones to create a fire pit enclosure)
- Sand (for leveling the base)
- Shovel
- Gravel (optional, for drainage)
Step-by-Step Guide
- Check local regulations: Before building a fire pit, consult your local fire codes for restrictions and safety requirements.
- Choose a location for your fire pit. It should be away from trees, fences, and other flammable structures.
- Dig a pit for the fire ring or create a base using concrete blocks or stones. Ensure proper stability and secure the structure according to the material used.
- Line the bottom of the pit with sand to create a level base.
- Optional: Add a layer of gravel for drainage.
Important Note: Always practice safe fire pit operation. Refer to a qualified fire safety resource for proper fire pit usage and maintenance.
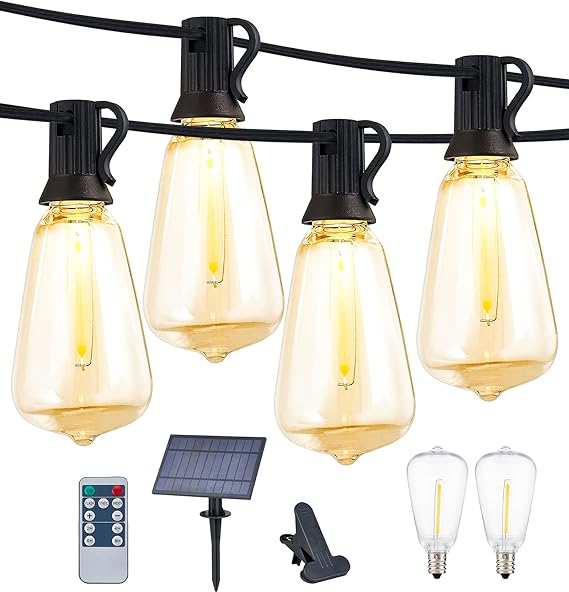
7. Solar-powered Lighting

Energy-efficient and easy to use: Solar lights provide illumination without electricity costs.
Versatile placement: Line pathways, highlight trees, or add ambience to planters.
Materials List
- Solar-powered lights (choose the style and quantity based on your desired illumination)
- Stakes (usually included with the solar lights)
Step-by-Step Guide
- Choose the locations for your solar lights, ensuring they receive sufficient sunlight during the day.
- Following the manufacturer’s instructions, assemble the solar lights if required.
- Push the stakes into the ground at your chosen locations, securing the solar lights.
With a little creativity and these budget-friendly projects, you can transform your backyard into a beautiful and inviting space to relax and enjoy the outdoors!
Conclusion
Creating your dream backyard oasis doesn’t have to be a costly endeavor. With these 7 creative and affordable projects, you can spruce up your outdoor space and enjoy it to the fullest without breaking the bank. Let’s recap the highlights:
1. DIY Geometric Planters
- Budget-friendly: Utilize corrugated plastic sheets to craft colorful and unique planters.
- Creative freedom: Design geometric shapes like triangles or hexagons to suit your style.
- Get inspired: Check out “The Upcycle Garden” by Peter Marlow for more creative projects, or watch a tutorial on DIY Geometric Planter by Jenny W. Chan.
2. String Light Ambiance
- Warm and inviting: Create a magical glow with string lights, perfect for cozy evenings outdoors.
- Versatile: Hang them anywhere from trees to pergolas for a touch of charm.
- Get inspired: Explore Pinterest boards for patio lighting ideas or watch a tutorial on DIY String Light Canopy by Better Homes and Gardens.
3. Pea Gravel Patio
- Cost-effective: Opt for a budget-friendly alternative to traditional patios with pea gravel.
- Easy DIY: Lay down landscape fabric, spread gravel, and add optional edging stones for a clean finish.
4. Repurposed Materials Magic
- Eco-friendly: Give new life to old items like vintage chandeliers or wagon wheels.
- Unique decor: Hang them from trees or use them as fire pit centerpieces for a touch of whimsy.
5. Vertical Gardening on a Budget
- Space-saving: Maximize your outdoor space by growing plants vertically.
- Low-maintenance: Ideal for succulents and herbs, perfect for beginners.
6. DIY Fire Pit for Gatherings
- Cozy focal point: Create a warm and inviting space for gatherings with a DIY fire pit.
- Safety first: Check local regulations and always practice safe fire pit operation.
7. Solar-powered Lighting
- Energy-efficient: Illuminate your outdoor space without electricity costs with solar-powered lights.
- Versatile placement: Line pathways or highlight trees for added ambience.
With a little creativity and these budget-friendly projects, you can transform your backyard into a beautiful and inviting space to relax and enjoy the outdoors! So, grab your tools and get started on your backyard oasis today! 🌿✨
Disclosure: This post may contain affiliate links. This means if you click on a link and make a purchase, Sproutfolk may receive a small commission at no additional cost to you. We only recommend products we believe in and that may be helpful to our readers.