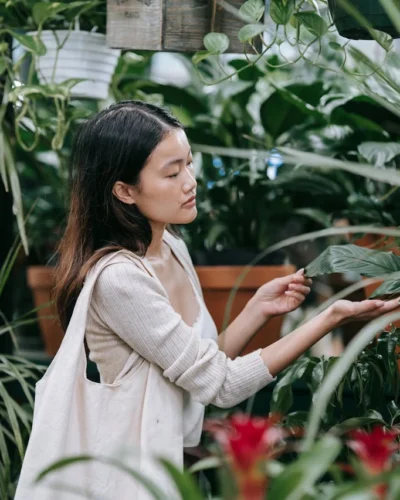
Have you ever admired those lush, cascading plants displayed in trendy cafes or seen on Pinterest boards but assumed they were too complicated to create for yourself? Well, fret no more! Propagation walls are not only stunning focal points, but they’re surprisingly easy and affordable to build wall hanging propagation station at home.
Introduction
In this blog post, we’ll guide you through everything you need to know to create your very own propagation wall. We’ll cover the basics like what a propagation wall is and the benefits of having one, then delve into the fun part: choosing the perfect plants and materials, and assembling your masterpiece!
What is a Propagation Wall?
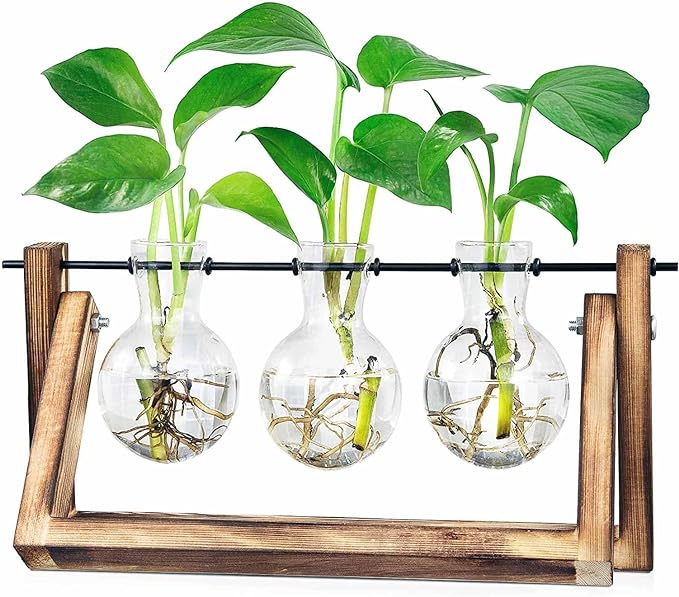
A propagation wall is a vertical display that allows you to propagate, or grow new plants, from cuttings of existing ones.
It typically features an arrangement of containers filled with water, where the plant cuttings sprout roots and establish themselves before being transplanted into soil or pots.
This method is not only visually appealing but also a fantastic way to multiply your favorite plants for free, or even share them with friends and family.
Why You’ll Love Propagation Walls
There are many reasons why propagation walls are becoming increasingly popular. Here are just a few:
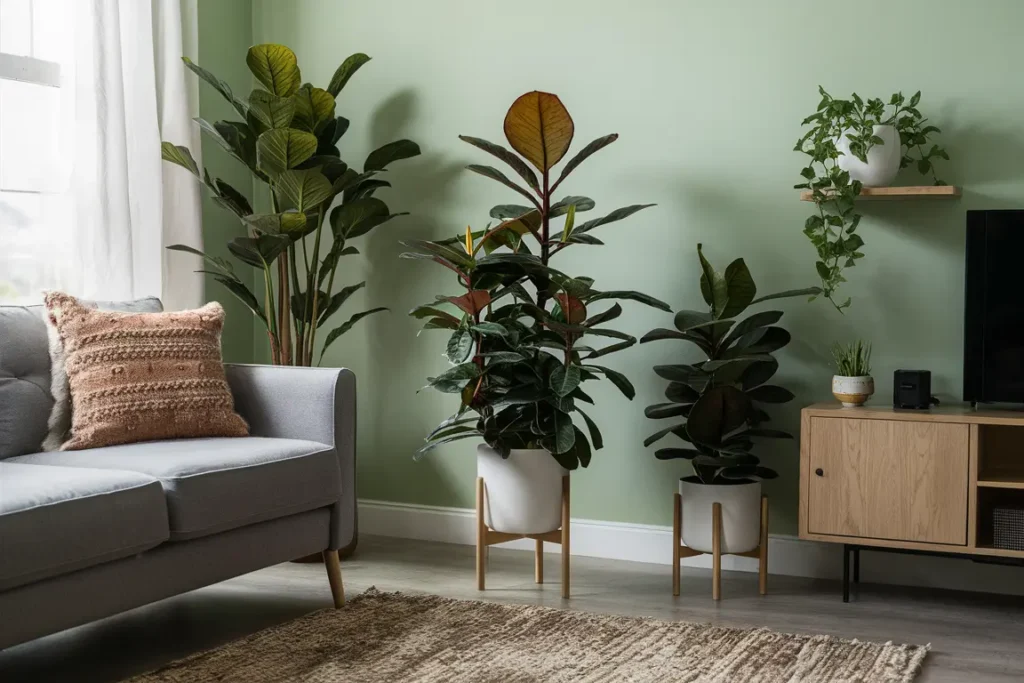
- Effortlessly enhance your indoor space: Propagation walls add a touch of lush greenery and natural beauty to any room. They can be a great conversation starter and a unique way to showcase your love for plants.
- Save money and propagate your favorite plants: Instead of buying new plants, you can use cuttings from your existing ones to create a whole new generation! This is a budget-friendly way to expand your indoor jungle.
- Easy to care for: Propagation walls are relatively low-maintenance. Since the plants are simply sitting in water, you won’t need to worry about complicated watering schedules or remembering to fertilize.
- Air purifying benefits: Just like any houseplant, the plants on your propagation wall will help purify the air in your home by removing toxins and pollutants.
In the next section, we’ll explore the different types of plants that thrive in a propagation wall environment and the tools you’ll need to get started on your exciting project!
Selecting the Perfect Plants for Your Propagation Wall
1. Finding the Right Plants
Choosing the right plants is a crucial step in creating a thriving propagation wall. Here are some key things to consider:
Plant type
Not all plants are created equal when it comes to propagation in water. Here are some varieties that are known to root easily in water:
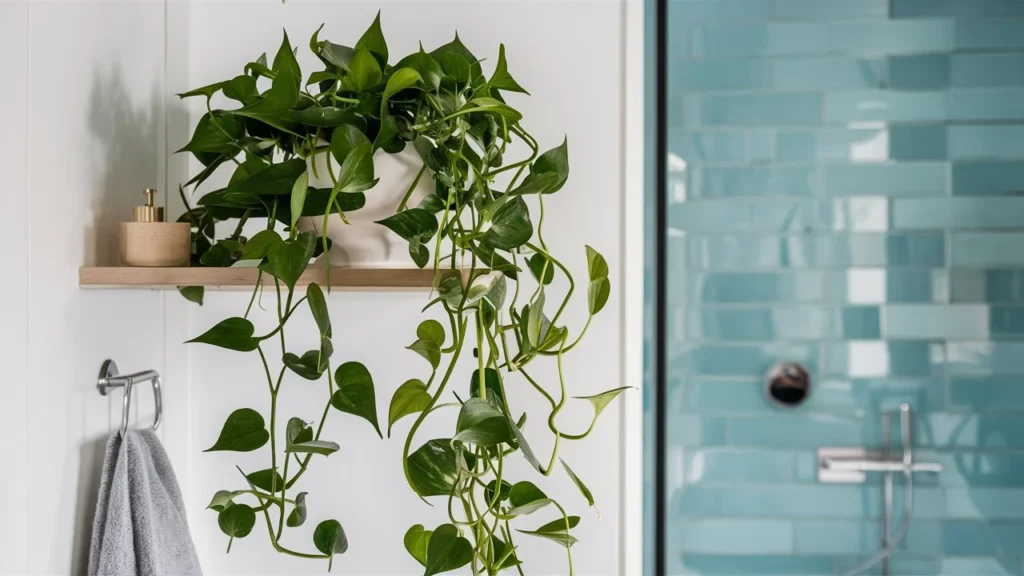
- Pothos : This popular, low-maintenance vine comes in many varieties and propagates readily in water.
- Philodendron: Another popular vining plant with stunning foliage, philodendrons are generally easy to propagate in water.
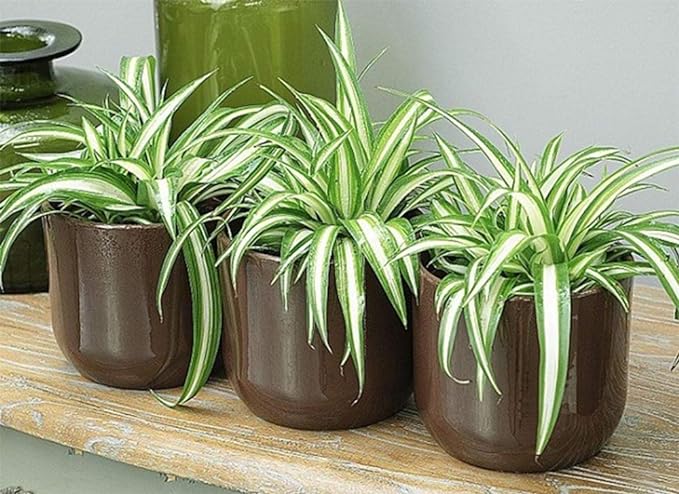
- Spider plant: These easy-to-care-for plants are known for sending out baby spiderettes that can be easily propagated in water.
- Monstera deliciosa: A trendy and popular houseplant, monsteras can be propagated in water from stem cuttings. However, this method may take longer than with other plants on this list.
- ZZ plant: While not the fastest propagator, ZZ plants can be successfully propagated in water using a leaf section with a small petiole (leaf stalk) attached.
Stem characteristics
Ideally, the stem cuttings you choose should be healthy and mature. Look for stems that are firm but not woody, and have a few nodes (the bumps where leaves grow). Each node has the potential to sprout roots.
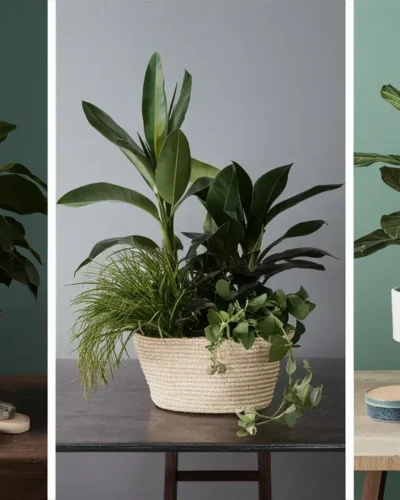
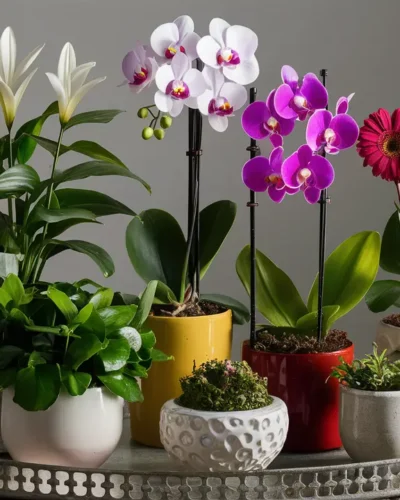
2. Finding the Right Container
The containers you choose for your propagation wall will depend on the aesthetic you’re going for and the size of your plant cuttings. Here are a few popular options:
- Test tubes: These provide a clean and modern look and allow you to easily observe root growth. They are a good choice for smaller cuttings.
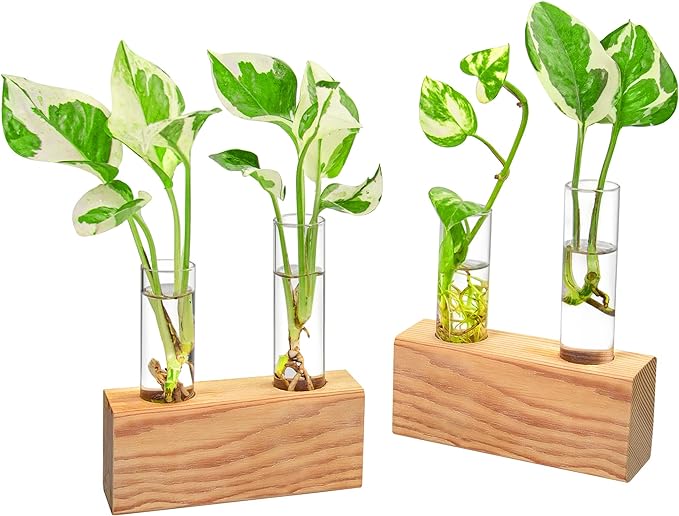
- Mason jars: Mason jars come in various sizes and offer a vintage or rustic charm. They are suitable for larger cuttings or multiple smaller ones.
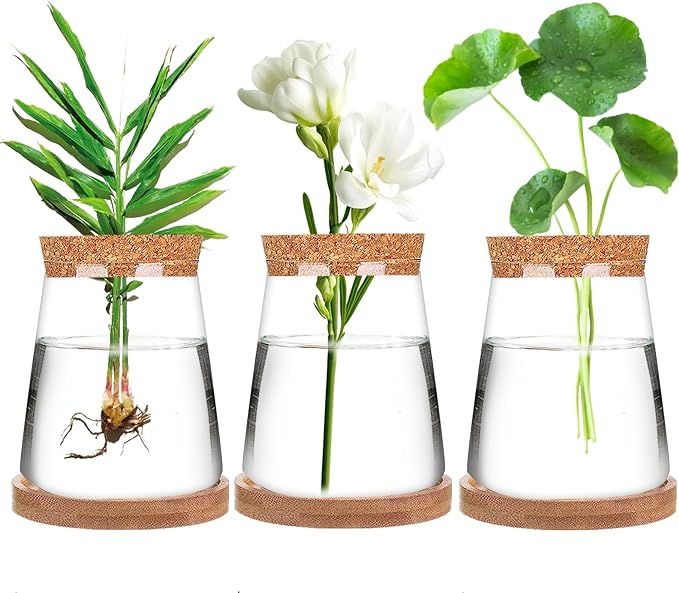
- Bud vases: These offer a unique and creative way to display your propagations. They work well for shorter cuttings or single nodes.
- Recycled containers: Upcycle old glass bottles, jars, or even lightbulbs (carefully remove all electrical components first!) for an eco-friendly and personalized touch.
No matter which container you choose, make sure it’s made of clear glass so you can monitor root development.
In the next section, we’ll gather the tools you’ll need and assemble your propagation wall masterpiece!
Assembling Your Propagation Wall: Tools and Techniques
Now that you’ve chosen your perfect plants and containers, it’s time to bring your propagation wall vision to life! Here’s what you’ll need to gather:
- Sharp pruners or shears: Make clean cuts on your plant stems to encourage healthy root growth.
- Drill (optional): This will be needed if you’re using a wooden backing board and want to directly attach your containers.
- Mounting hardware (optional): Depending on your chosen mounting method (wall-mounted shelf, hanging display, etc.), you might need screws, hooks, or anchors.
- Ruler or measuring tape: To ensure your containers are properly spaced and any drilled holes are the right size.
- Marker (optional): For labeling your containers, especially if you’re propagating multiple plant varieties.
1. Preparing Your Plant Cuttings
- Select a healthy stem: Choose a non-flowering stem that is firm but not woody. Ideally, it should have at least 2-3 nodes.
- Make a clean cut: Using your sharp pruners or shears, cut approximately 4-6 inches below a node at a 45-degree angle. This angled cut provides more surface area for roots to develop.
- Remove lower leaves: Strip away any leaves from the lower portion of the stem that will be submerged in water. This helps prevent rotting.
2. Setting Up Your Containers
- Clean your containers: Wash your chosen containers thoroughly with warm soapy water and rinse them well. This removes any dirt or bacteria that could hinder root growth.
- Fill with fresh water: Use filtered or spring water, as tap water may contain chemicals that can harm your plants. Fill the container enough to submerge the lowest node on your cutting.
3. Mounting and Displaying Your Propagation Wall
There are several creative ways to display your propagation wall. Here are a few popular options:
- Wooden backing board: This provides a rustic and customizable base. You can drill holes directly into the board to hold your containers or use decorative hooks or brackets for hanging them.
- Hanging shelf or rack: A versatile option that allows you to display your propagation wall at eye level or higher. You can use S-hooks or other hanging hardware to attach your containers to the shelf.
- Freestanding display: This could be a small table or a decorative stand where you can arrange your filled containers.
Pro Tip: Play with arrangement and balance! Consider the size and shape of your containers, as well as the mature size of the plants you’re propagating, when positioning them on your display.
In the final section of this blog post, we’ll cover how to care for your propagation wall and watch your plant babies thrive!
Nurturing Your Propagation Wall and Witnessing Growth
Now that your propagation wall is assembled and your plant cuttings are nestled in their watery haven, it’s time to focus on providing the TLC they need to thrive. Here’s what you’ll need to do:
1. Light: Place your propagation wall in a location that receives bright, indirect sunlight. Avoid direct sunlight, which can scorch your delicate cuttings.
2. Water Changes: Fresh, clean water is crucial for healthy root development. Aim to change the water in your containers every 1-2 weeks, or more frequently if the water becomes cloudy. Use room temperature filtered or spring water, as mentioned earlier.
3. Monitoring Progress: Keep a watchful eye on your cuttings. Within a few weeks, you should start to see tiny white roots emerging from the nodes. This signifies successful propagation!
4. Patience: The rate at which your cuttings develop roots can vary depending on the plant variety. Some fast growers, like pothos, may develop roots within a couple of weeks, while others, like monstera, may take a few months. Be patient and enjoy the process!
Knowing When to Transplant
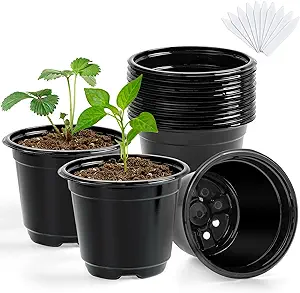
Once your cuttings have established a healthy root system, typically with roots reaching at least 1-2 inches in length, they’re ready to be transplanted into soil. Here are some signs to watch for:
- Visible roots: As mentioned above, a good root system is key.
- New growth: You might see new leaves or stems sprouting from the nodes.
Transplanting Tips
- Choose a pot with drainage holes that’s slightly larger than the root ball of your cutting.
- Use a well-draining potting mix suitable for the specific plant type you’re propagating.
- Gently remove the cutting from the water container and plant it in the pot, ensuring the roots are properly covered with soil.
- Water thoroughly and place the newly potted plant in a location with bright, indirect sunlight.
Congratulations! You’ve successfully propagated your plant and can now watch it flourish in its new home. Your propagation wall will continue to be a source of beauty and pride, allowing you to witness the magic of plant growth firsthand.
Bonus Tip: Don’t discard the mother plant after taking cuttings! You can continue to care for it as usual, and it will likely produce new growth that you can use for future propagation endeavors.
This concludes our guide to creating and caring for your very own propagation wall. We hope you’ve found this information helpful and inspiring. Now get out there, gather your supplies, and get ready to cultivate a thriving and visually stunning piece of living art for your home!
Troubleshooting and Additional Tips for Propagation Success
Even with the best intentions, things don’t always go according to plan. Here are some common issues you might encounter with your propagation wall, along with solutions and helpful tips:
Slow Root Growth:
- Light: Ensure your propagation wall receives sufficient bright, indirect sunlight.
- Water Quality: Check if the water is becoming stagnant or cloudy. Change it regularly and use filtered or spring water.
- Plant Type: Some plants are naturally slower to root in water than others. Be patient, especially with varieties like monstera.
Leaf Discoloration or Rotting:
- Water Level: Make sure only the stem nodes are submerged, not the leaves. Remove any leaves that touch the water.
- Water Changes: Discard discolored water promptly and replace it with fresh, clean water.
- Cutting Health: If the stem itself feels mushy or discolored, it might be best to discard the cutting and start fresh with a healthier stem.
Top Tips for Thriving Propagation:
- Maintain consistent warmth: Ideally, aim for an ambient temperature around 65-75°F (18-24°C) to promote root development.
- Provide humidity boost (optional): If your climate is dry, consider using a pebble tray or humidifier to increase humidity around your cuttings.
- Label your containers: Especially if you’re propagating multiple plant varieties, labeling them with the plant name and date of propagation will help you keep track of their progress.
- Enjoy the process!: Propagation is a fun and rewarding way to grow your plant collection. Take pleasure in watching your cuttings develop roots and new growth.
We hope this additional information empowers you to troubleshoot any challenges and celebrate your propagation successes. With a little patience and these helpful tips, your propagation wall will soon be a vibrant and thriving display of your plant parenthood prowess!
Conclusion: Embrace the Greener Side of Life with Propagation Walls
Congratulations on reaching the end of this comprehensive guide to creating and caring for your propagation wall! We hope you feel empowered to embark on this exciting project and bring a touch of vibrant greenery into your home.
Propagation walls are not only beautiful and conversation-starting additions to your décor, but they’re also a fantastic way to:
- Save money and expand your plant collection: By propagating from your existing plants, you can multiply your favorites for free or share them with loved ones.
- Reduce waste and embrace sustainability: Repurpose containers and give new life to plant trimmings that might otherwise be discarded.
- Experience the joy of plant parenthood: Witnessing the magic of plant growth firsthand is a rewarding experience that fosters a deeper connection with the natural world.
So, what are you waiting for? Gather your supplies, unleash your creativity, and get ready to cultivate a thriving propagation wall that reflects your unique style. With a little TLC and the knowledge you’ve gained here, you’ll be well on your way to becoming a propagation pro!
We encourage you to share your propagation journey on social media using the hashtag #propagationwall. We’d love to see your creations and celebrate your plant parenthood wins!
Happy propagating!
Frequently Asked Questions about Propagation Walls
What are some of the benefits of having a propagation wall?
Propagation walls offer a multitude of benefits, including:
- Enhancing your indoor space: They add a touch of natural beauty and greenery to any room, creating a calming and refreshing atmosphere.
- Saving money and expanding your plant collection: You can propagate new plants from existing ones for free, allowing you to multiply your favorites or share them with friends and family.
- Easy to care for: Propagation walls are relatively low-maintenance. Since the plants are simply sitting in water, you won’t need to worry about complicated watering schedules or remembering to fertilize.
- Air purifying properties: Just like any houseplant, the plants on your propagation wall will help purify the air in your home by removing toxins and pollutants.
What are some of the best plants for propagation walls?
While not all plants are created equal for water propagation, here are some varieties known to root easily:
- Pothos
- Philodendron
- Spider plant
- Swiss Cheese Plant (may take longer than others)
- ZZ plant (slower propagator, but can be successful)
When choosing plants, consider the type of plant, stem characteristics (ideally firm, mature stems with nodes), and the overall aesthetic you want for your propagation wall.
What kind of containers should I use for my propagation wall?
The ideal container will depend on the size of your cuttings and your desired aesthetic. Here are some popular options:
- Test tubes: Clean and modern, allowing easy observation of root growth. Good for smaller cuttings.
- Mason jars: Offer a vintage or rustic charm and come in various sizes for larger cuttings or multiple smaller ones.
- Shot glasses or bud vases: Unique and creative for displaying shorter cuttings or single nodes.
- Recycled containers: Upcycle old glass bottles, jars, or even lightbulbs (carefully remove electrical components first!) for an eco-friendly and personalized touch.
No matter what container you choose, make sure it’s made of clear glass so you can monitor root development.
How often should I change the water in my propagation wall?
For healthy root development, aim to change the water in your containers every 1-2 weeks, or more frequently if the water becomes cloudy. Use room temperature filtered or spring water, as tap water may contain chemicals harmful to your plants.
How long does it take for cuttings to develop roots in water?
The rate of root development can vary depending on the plant variety. Some fast growers, like pothos, may develop roots within a couple of weeks, while others, like monstera, may take a few months. Be patient and enjoy the process!
I see some new growth on my cuttings, but there are no roots. What should I do?
While new growth is a positive sign, roots are essential for the plant to survive on its own. Here are some things to consider:
- Light: Ensure your propagation wall receives bright, indirect sunlight.
- Water Quality: Check if the water is becoming stagnant or cloudy. Change it regularly and use filtered or spring water.
- Plant Type: Some plants are naturally slower to root in water than others. Be patient, especially with varieties like monstera.
How will I know when my cuttings are ready to be transplanted into soil?
Once your cuttings have established a healthy root system, typically with roots reaching at least 1-2 inches in length, they’re ready to be transplanted into soil. Look for visible roots and new growth sprouting from the nodes.
Do I need any special tools to care for my propagation wall?
While not essential, some tools can make the process easier:
- Sharp pruners or shears: For making clean cuts on your plant stems to encourage healthy root growth.
- Drill (optional): If you’re using a wooden backing board and want to directly attach your containers.
- Ruler or measuring tape: To ensure proper spacing of containers and accurate drilling (if applicable).
- Marker (optional): For labeling your containers, especially if propagating multiple plant varieties.
We hope this FAQ section has addressed any lingering questions you might have about propagation walls. Happy propagating!