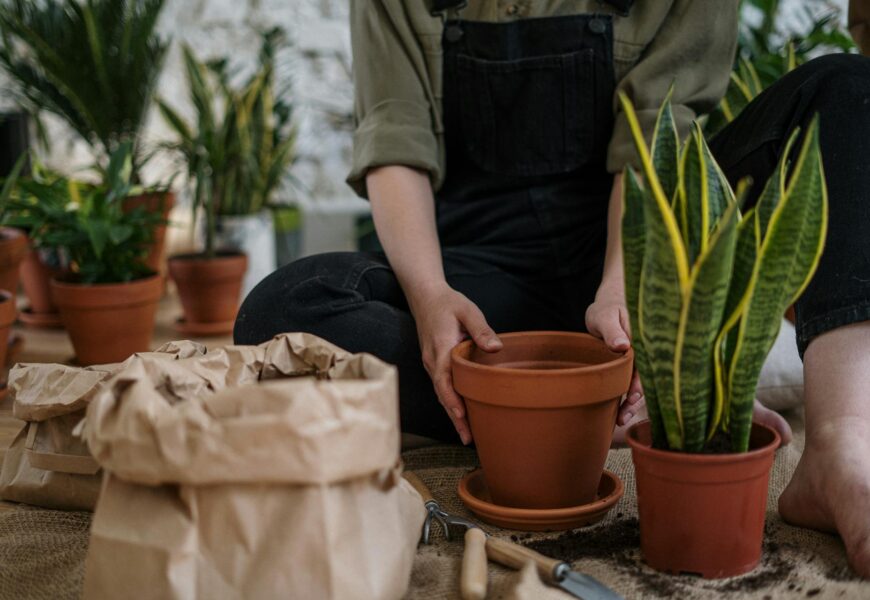
Are your houseplants looking a little worse for wear? Don’t give up! Repotting houseplants isn’t a scary task – it’s a chance to revive your leafy friends and give them a fresh start.
This guide takes the mystery out of repotting, helping you determine when it’s necessary and how to do it right.
Whether your plants are suffering from overwatering or simply need more space, we’ll cover everything you need to know.
Learn how to diagnose root problems, create optimal drainage, and choose the perfect pot size. With a little TLC and the right techniques, you can transform your struggling houseplants into a thriving indoor jungle!
1. Bigger Pot Isn’t Always Better
Contrary to popular belief, a larger pot isn’t always the answer. Roots might be searching for oxygen due to overwatering or compacted soil.
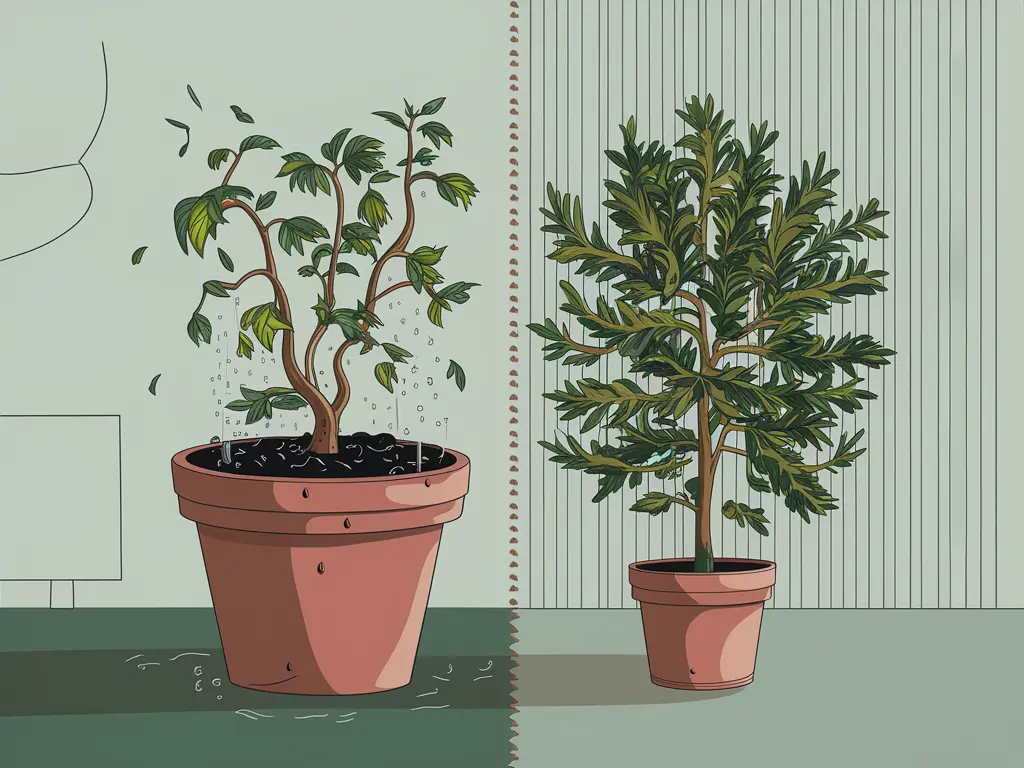
Before repotting, analyze the situation:
- Drainage Issues: If the soil feels soggy, consider a pot with better drainage instead of sizing up.
- Soil Quality: Poor quality soil needs replacing, not a bigger pot. For optimal plant health, consider testing the soil’s pH using a soil pH meter. Ideal pH levels vary depending on the plant species, but a meter can help you determine if the soil’s acidity or alkalinity needs to be adjusted.
2. Diagnosis & Treatment
- Gently Remove the Plant: Moisten the soil slightly and hold the plant firmly while turning the pot over. A gentle tap or a knife around the edges might be needed.
- Check the Roots: Healthy roots are white or tan. Discolored or rotting roots indicate a problem.
- Repotting for Poor Care:
- Drainage: Add gravel, broken pottery, or pebbles to the bottom of the new pot for better drainage.
- Clean & Trim: Carefully loosen the roots, removing as much old soil as possible. Trim away any unhealthy roots.
- Fresh Start: Use fresh, high-quality potting mix. Position the plant at the correct height and fill the pot, gently packing the soil.
- Recovery Time: Water lightly and place the plant in an area with indirect sunlight until it recovers.
3. Repotting for Rootbound Plants
- Healthy Roots: If your plant has been well-cared for, it might genuinely need more space.
- Careful Removal: Follow steps 1 and 2 from the “Poor Care” section, but avoid loosening the roots.
- Root Trimming: Use a sharp knife to gently saw off about an inch from the bottom of the root ball.
- New Home: Place the plant in the new pot, fill with fresh soil, and water lightly. Avoid direct sunlight or drafts for a week.
Special Case: Spider Plants
Space savers! Spider plants produce little plantlets called “spiderettes” when they feel cramped. Repotting the entire plant isn’t always necessary. You can easily propagate these spiderettes by dividing them and potting them in separate containers.
Spider plants send out “spiderettes” when they’re crowded. Repotting isn’t always necessary; simply divide the spiderettes and pot them separately.
Conclusion
Routine Repotting houseplants
Some gardeners repot annually with the same pot, replacing the old soil with fresh mix. This provides fresh nutrients and keeps your plants thriving. The old soil can be composted.
Embrace the Greenery:
Houseplants are more than just decoration; they improve air quality and add a touch of life to your space. With a little energy and proper repotting techniques, you can keep your indoor jungle flourishing for years to come!
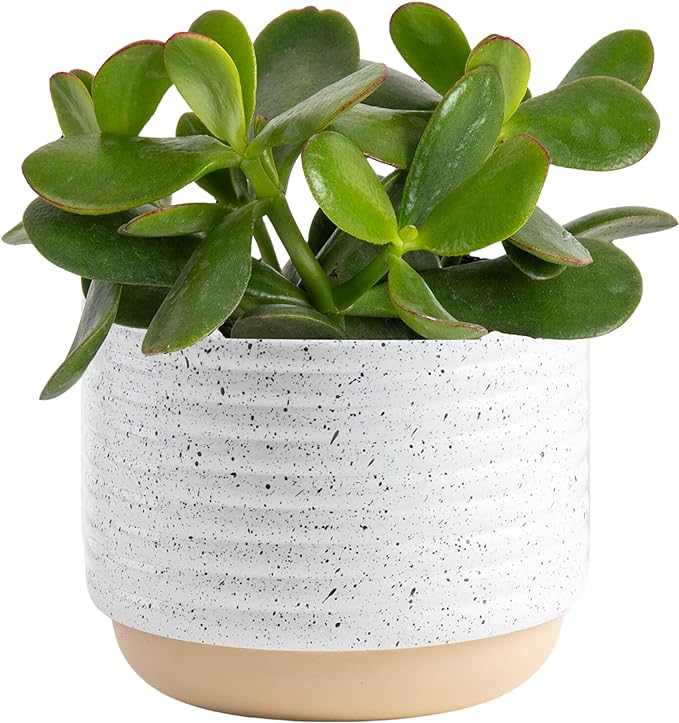
Jade Plant brings a touch of sophistication to any space with:
- Stylish Design
- Effortless Care
- Clean Air Benefits
- Thoughtful Gift Idea
Liven up your space and breathe easy with the Jade Plant!
Do your houseplants look like they’re bursting out of their pots? Don’t despair! Repotting isn’t a chore; it’s a chance to revive your leafy friends and give them a fresh start.

